How To Create Flashcards On Google Slides
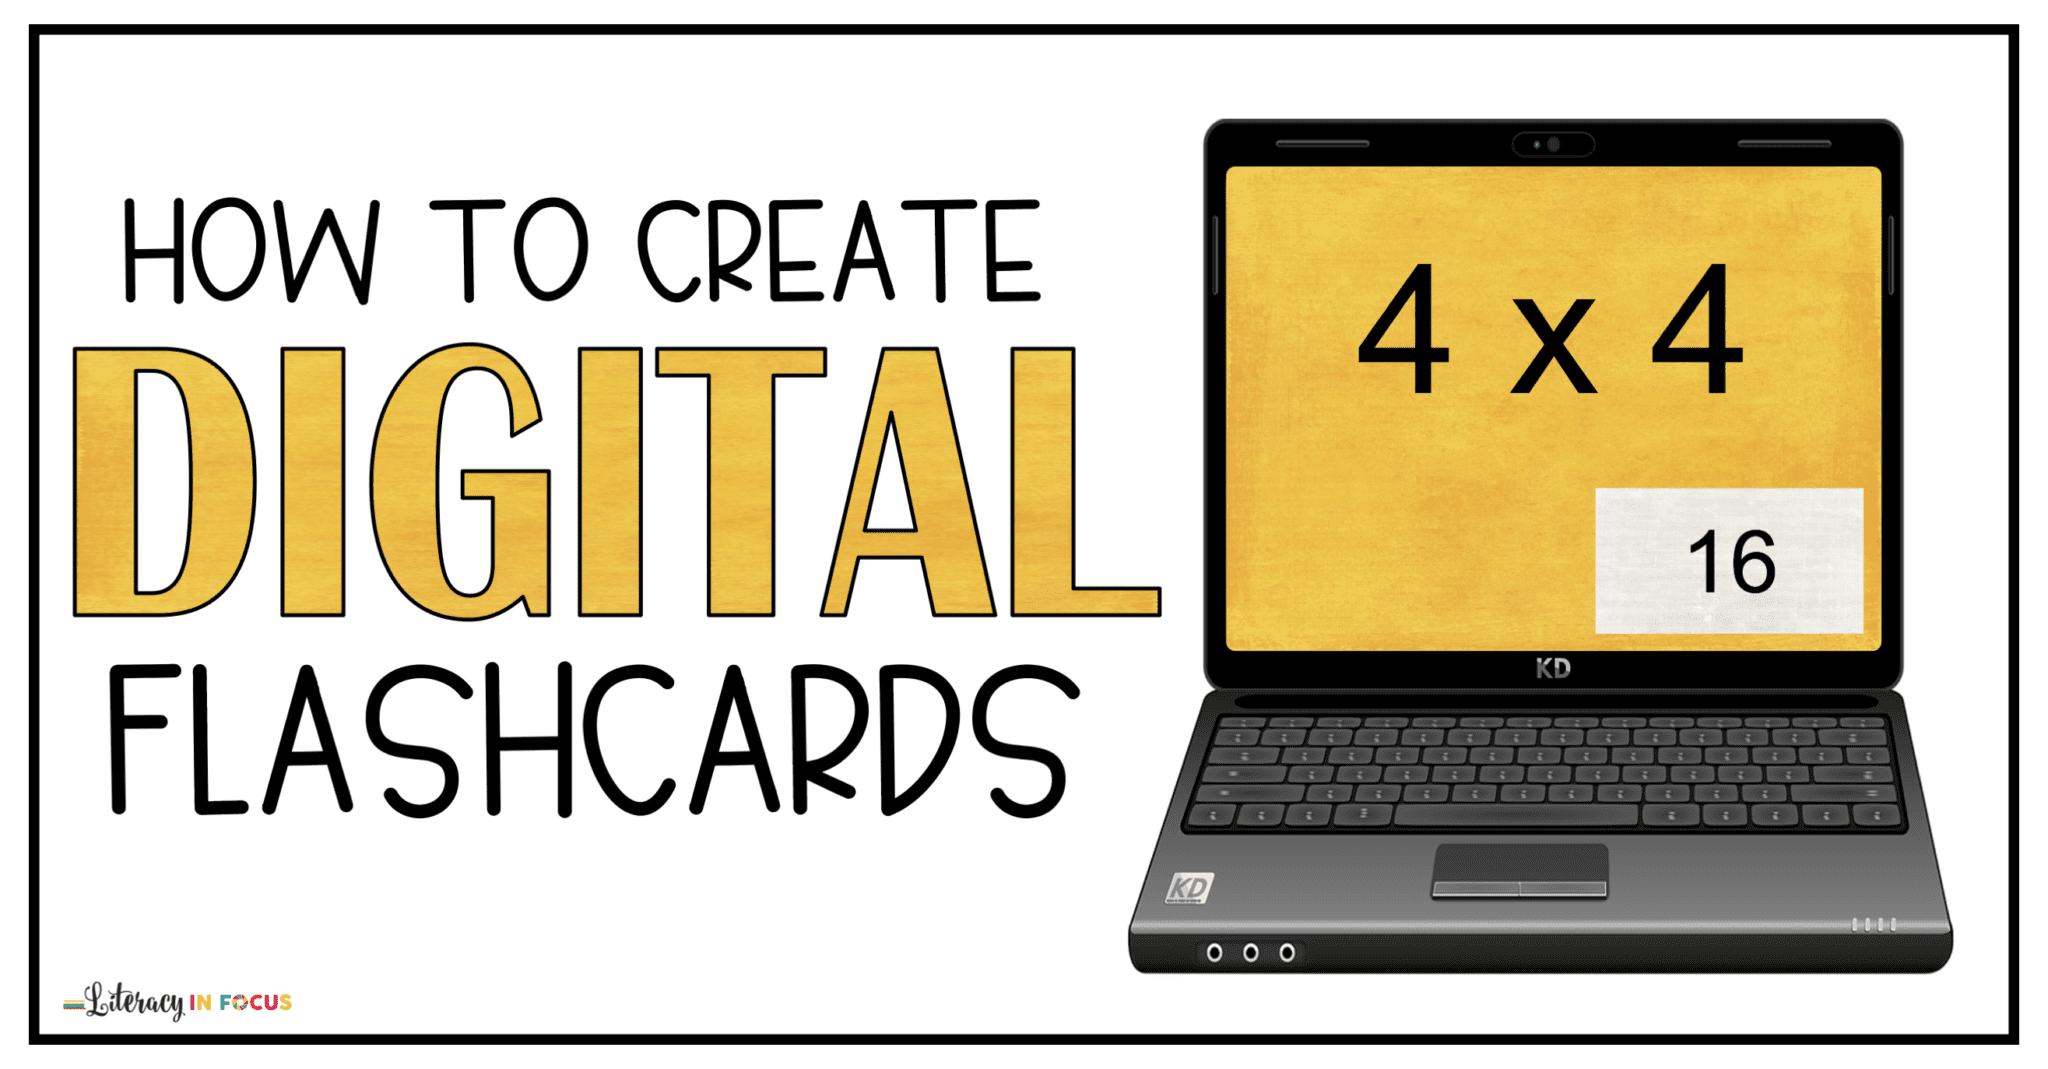
The steps below walk you through the process of creating digital flashcards using Google Slides. After learning the process, you can branch out and get creative. Enjoy!
Resize your Google Slides
After opening a new Google Slides presentation, the first thing I do is resize the page. I like to make the flashcard slides the same size as a piece of paper (landscape), making them easy to print out if necessary. To resize your slides, click File > Page setup > Custom (Drop Down Menu) > 10 x 7.5 Inches > Apply.
Add a Question Text Box
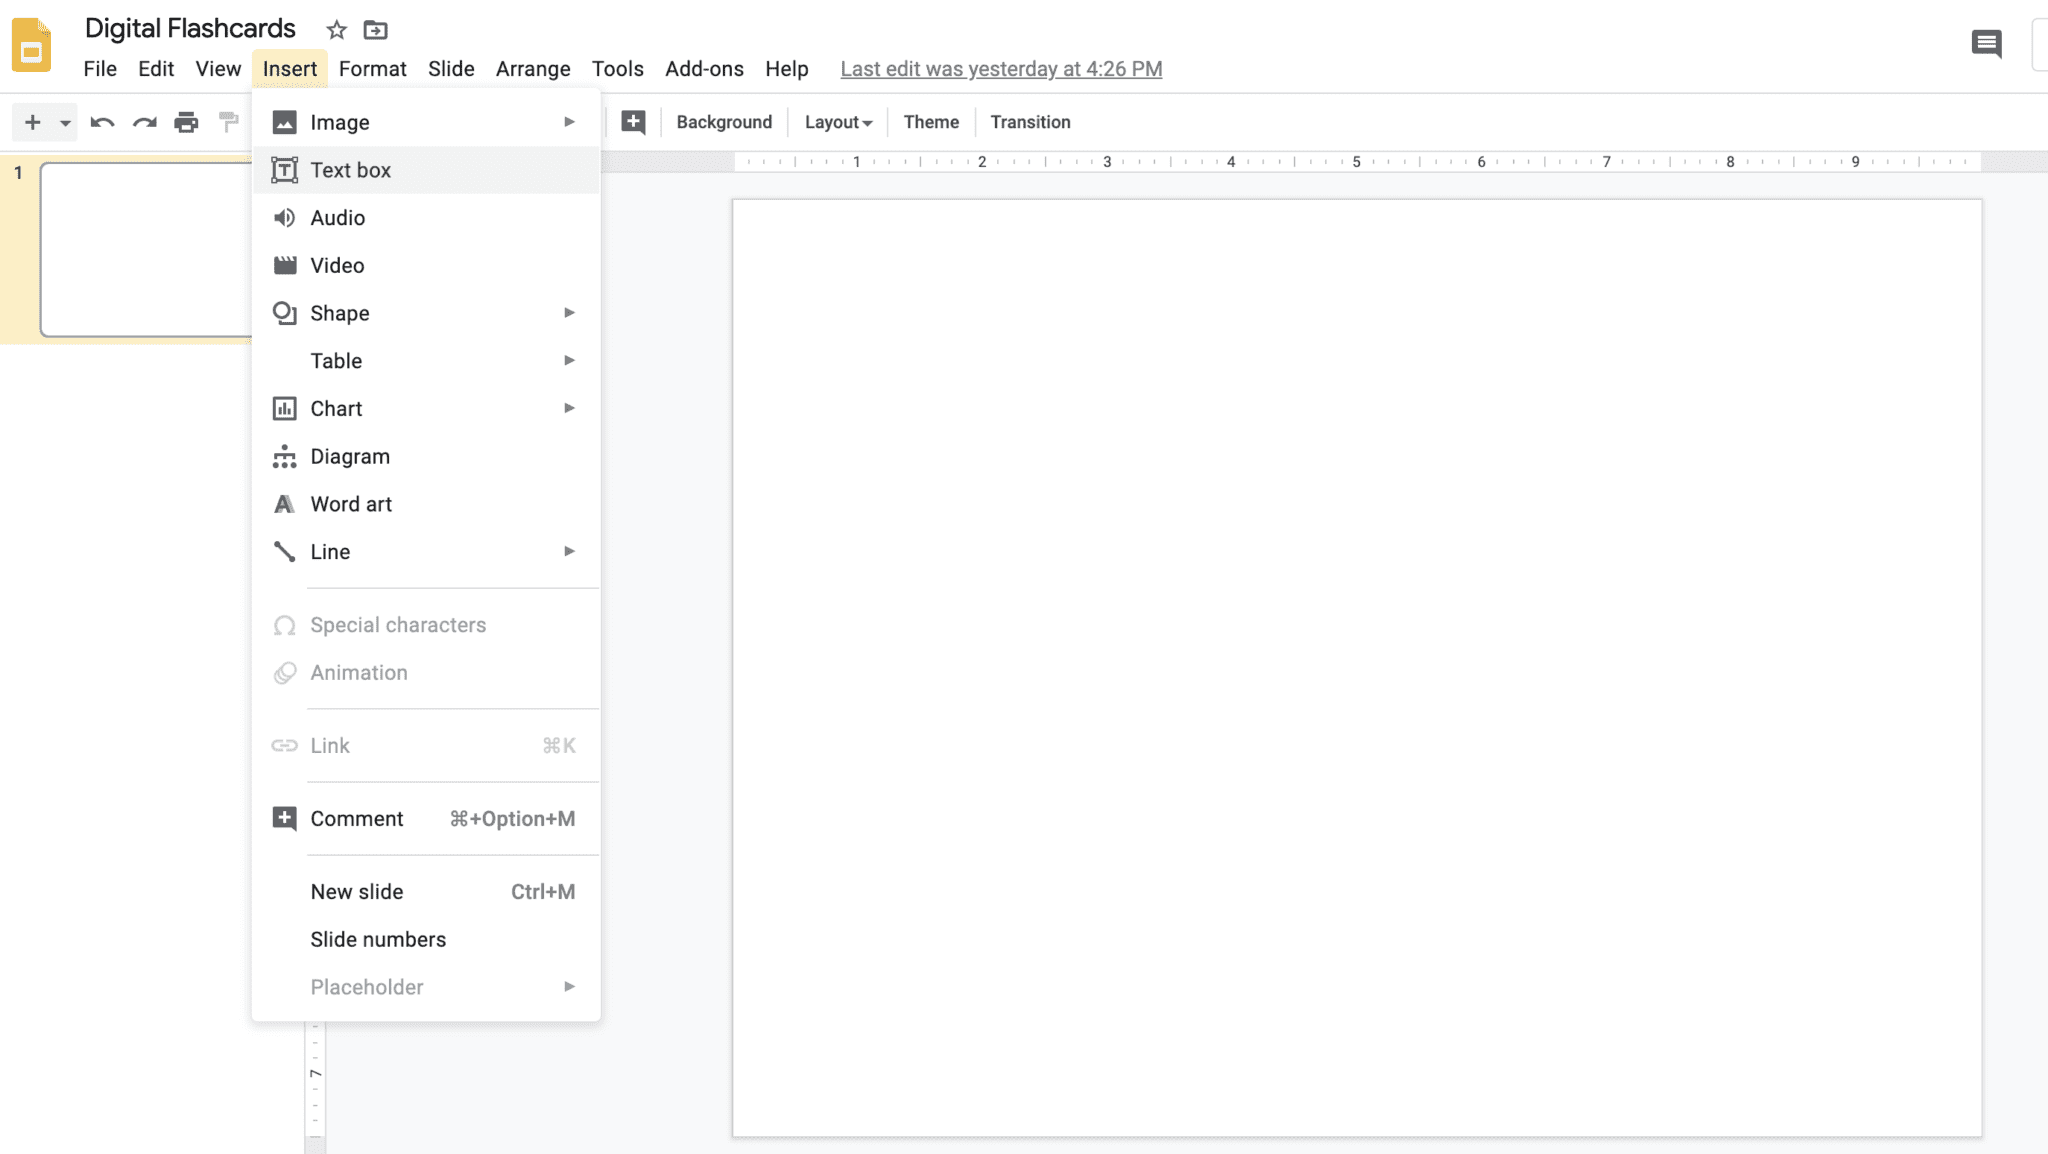
After you have adjusted your page size, you are now ready to add your question text box. To do this, click Insert > Text box > drag the cursor until your text box appears. The size of your text will be determined by the amount of content you have for each question. As a rule of thumb, always start with a bigger font size (greater than 100) and adjust from there.
Add an Answer Box
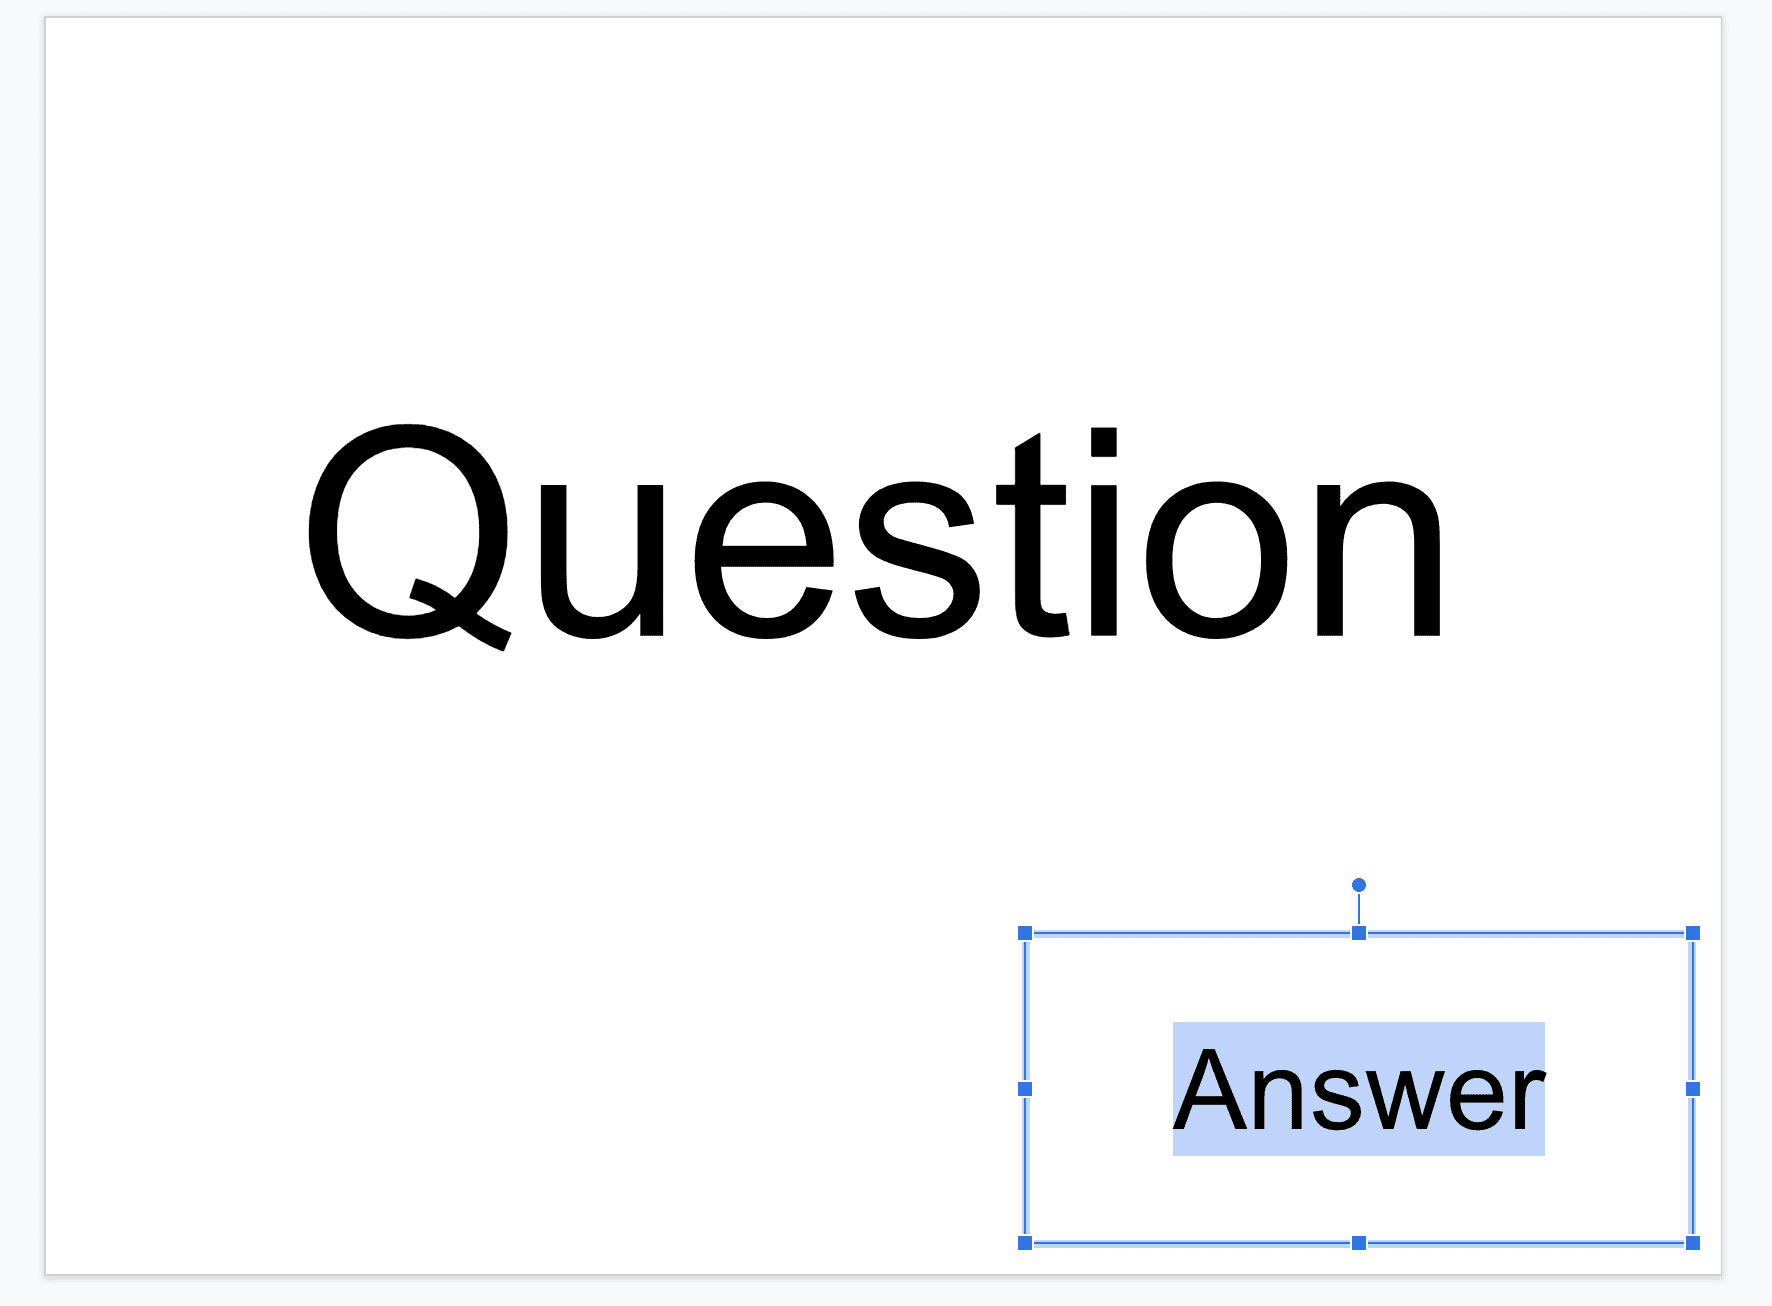
When you have finished adding text to your question text box, move on to create your answer text. Insert the answer text box the same way you inserted the question text box, only make it smaller. Place your answer text box where it will be visible when it appears. The bottom right-hand corner works well.
Animate your Answer Box
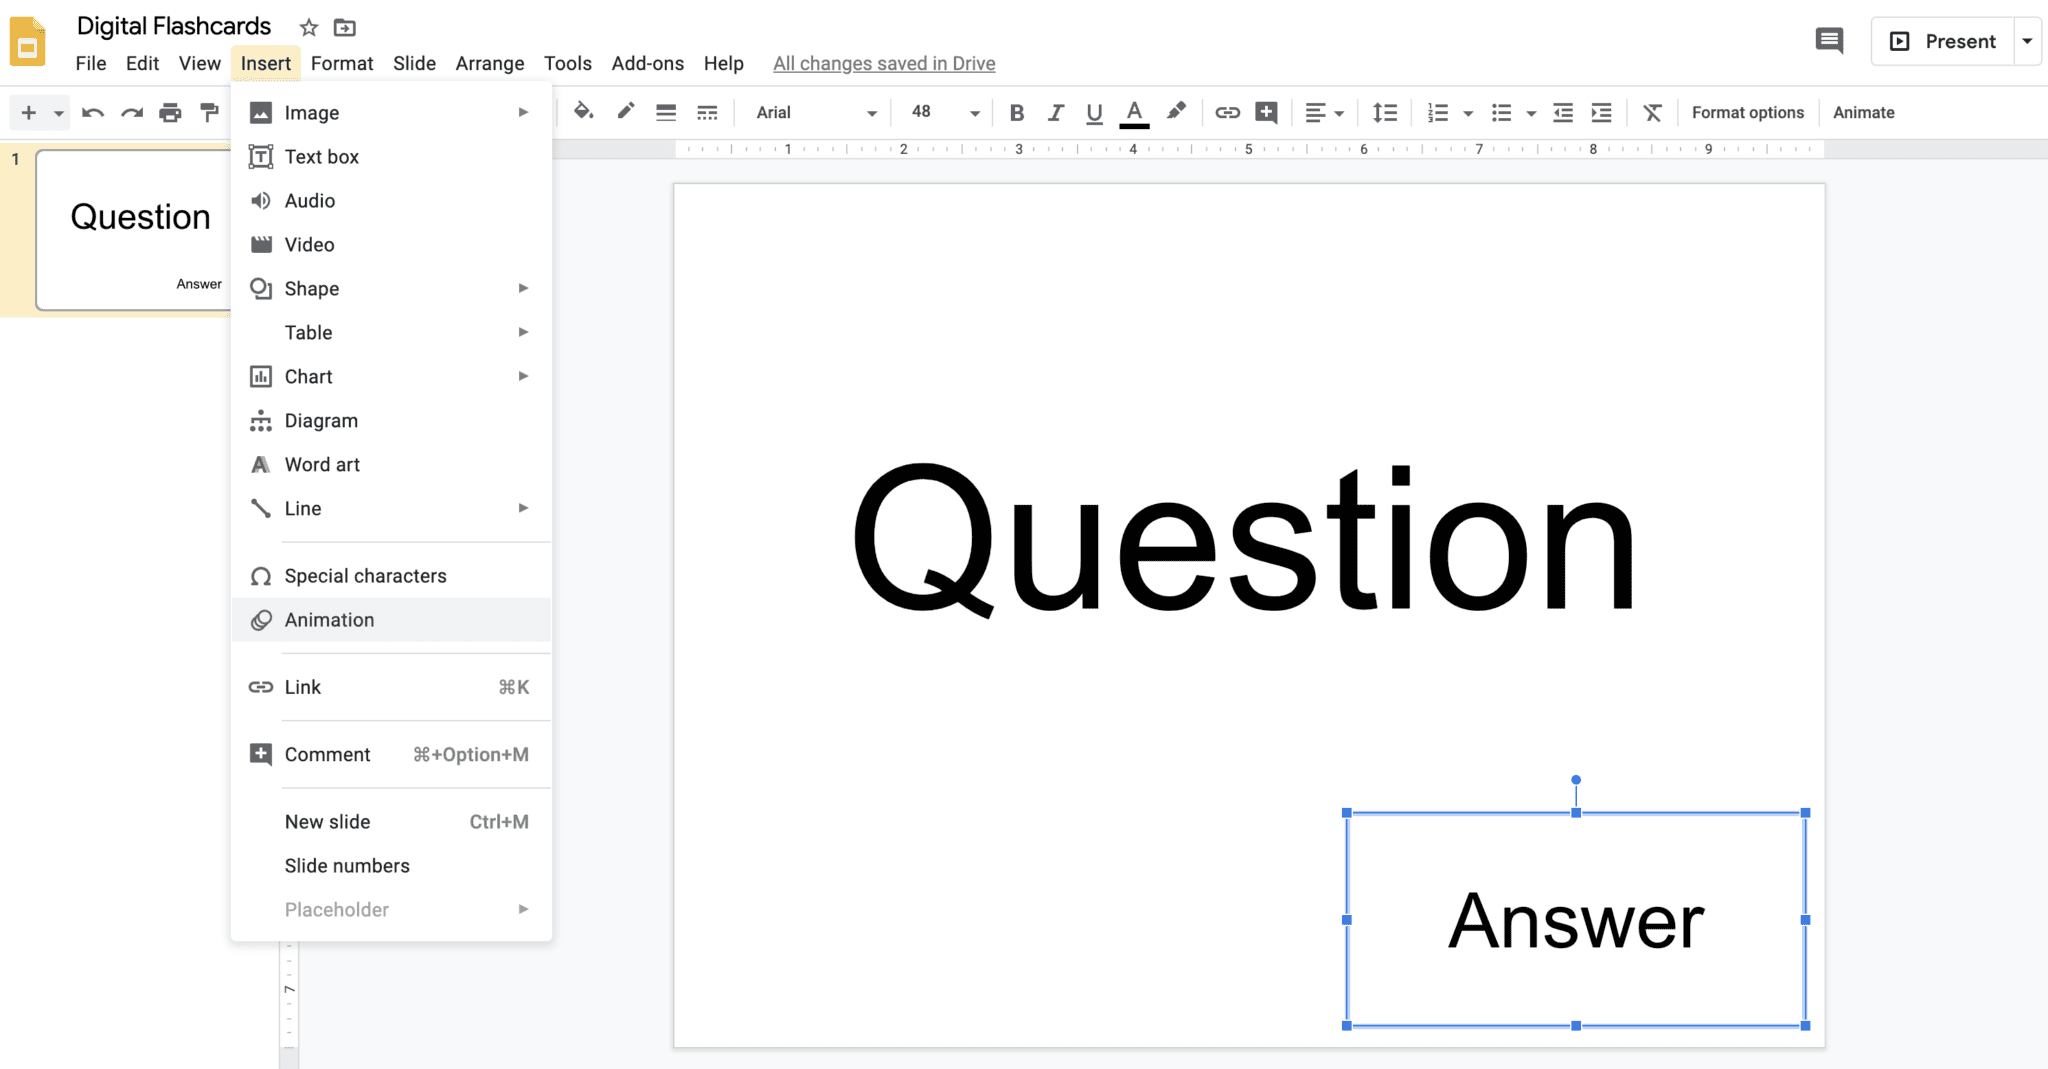
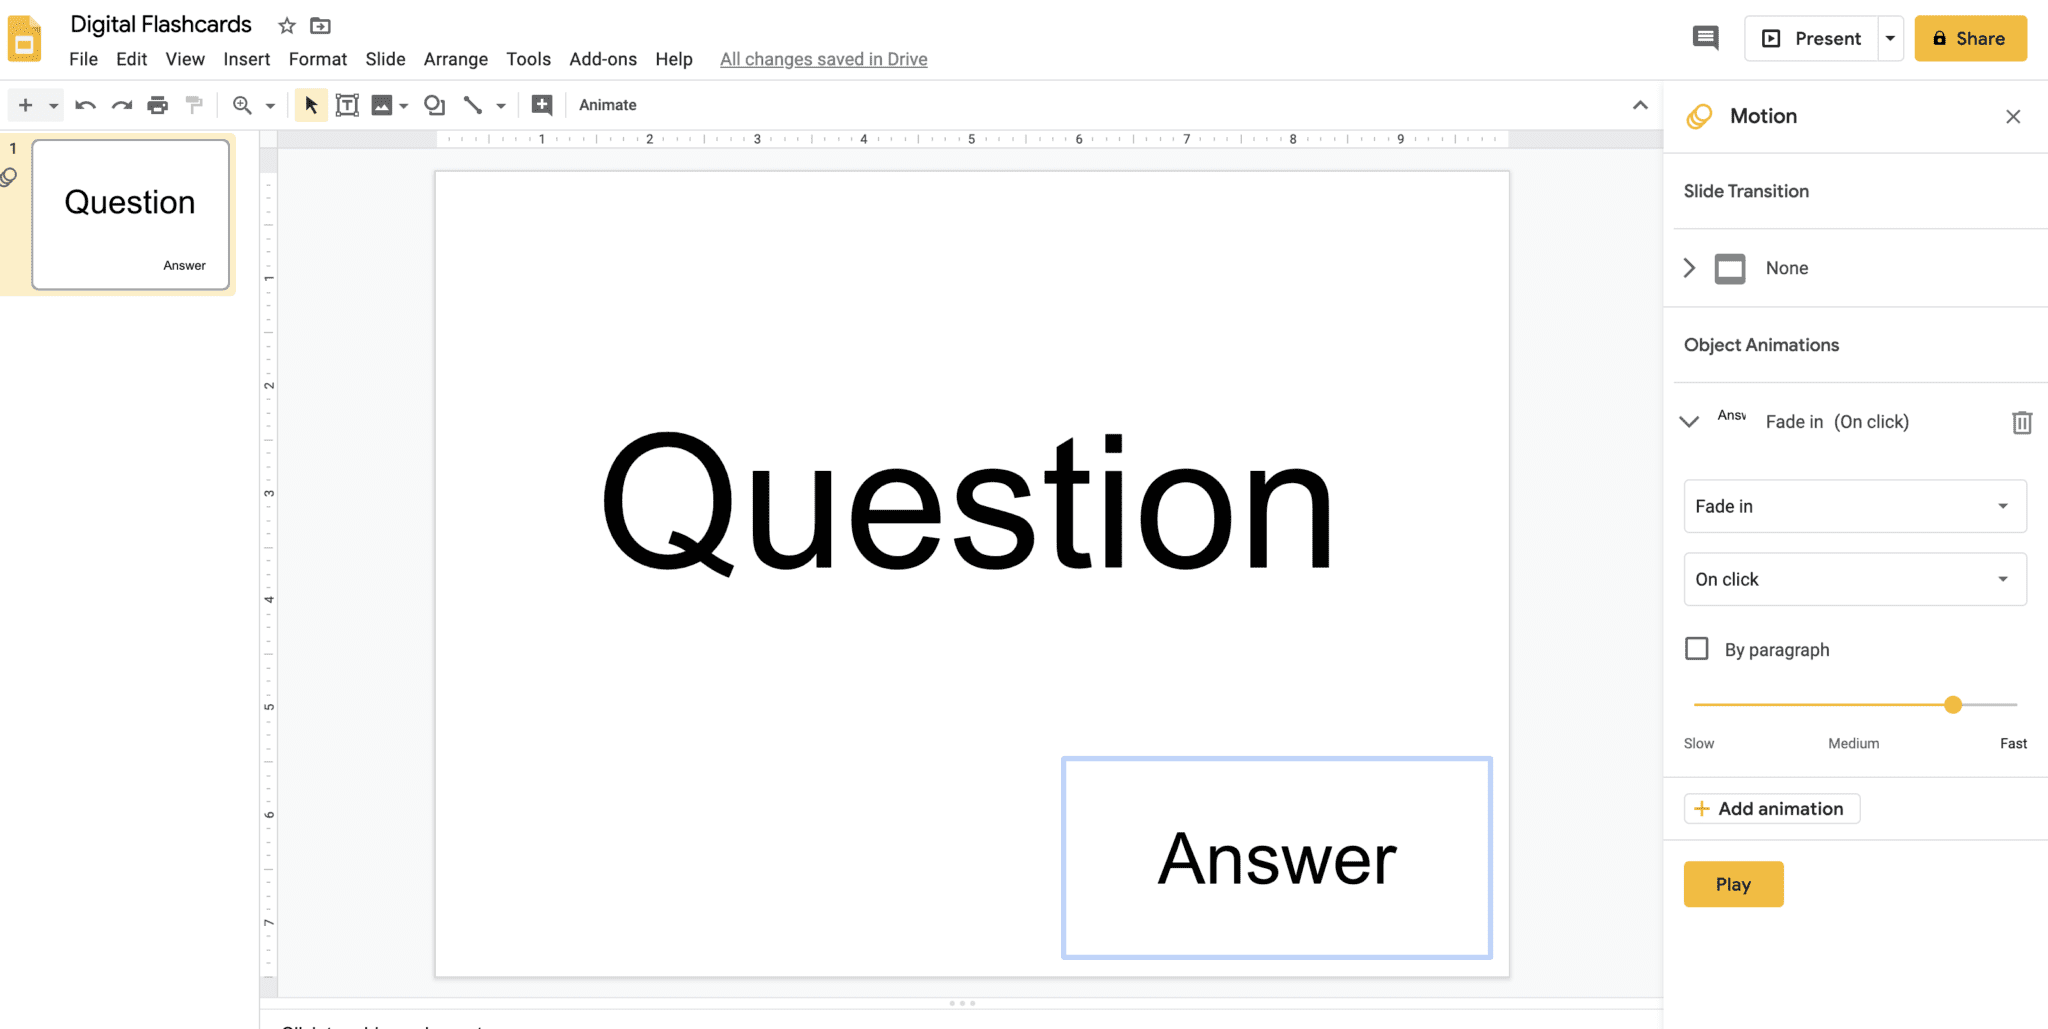
In order for your digital flashcards to act like traditional flashcards, you need to animate your answer boxes. Click on your answer text box > Insert > Animation. When the animation sidebar appears, make sure the object animation is set to Fade in and On click. Now your answer boxes will appear when students click through to see the answer to the question.
Adding Flashcards
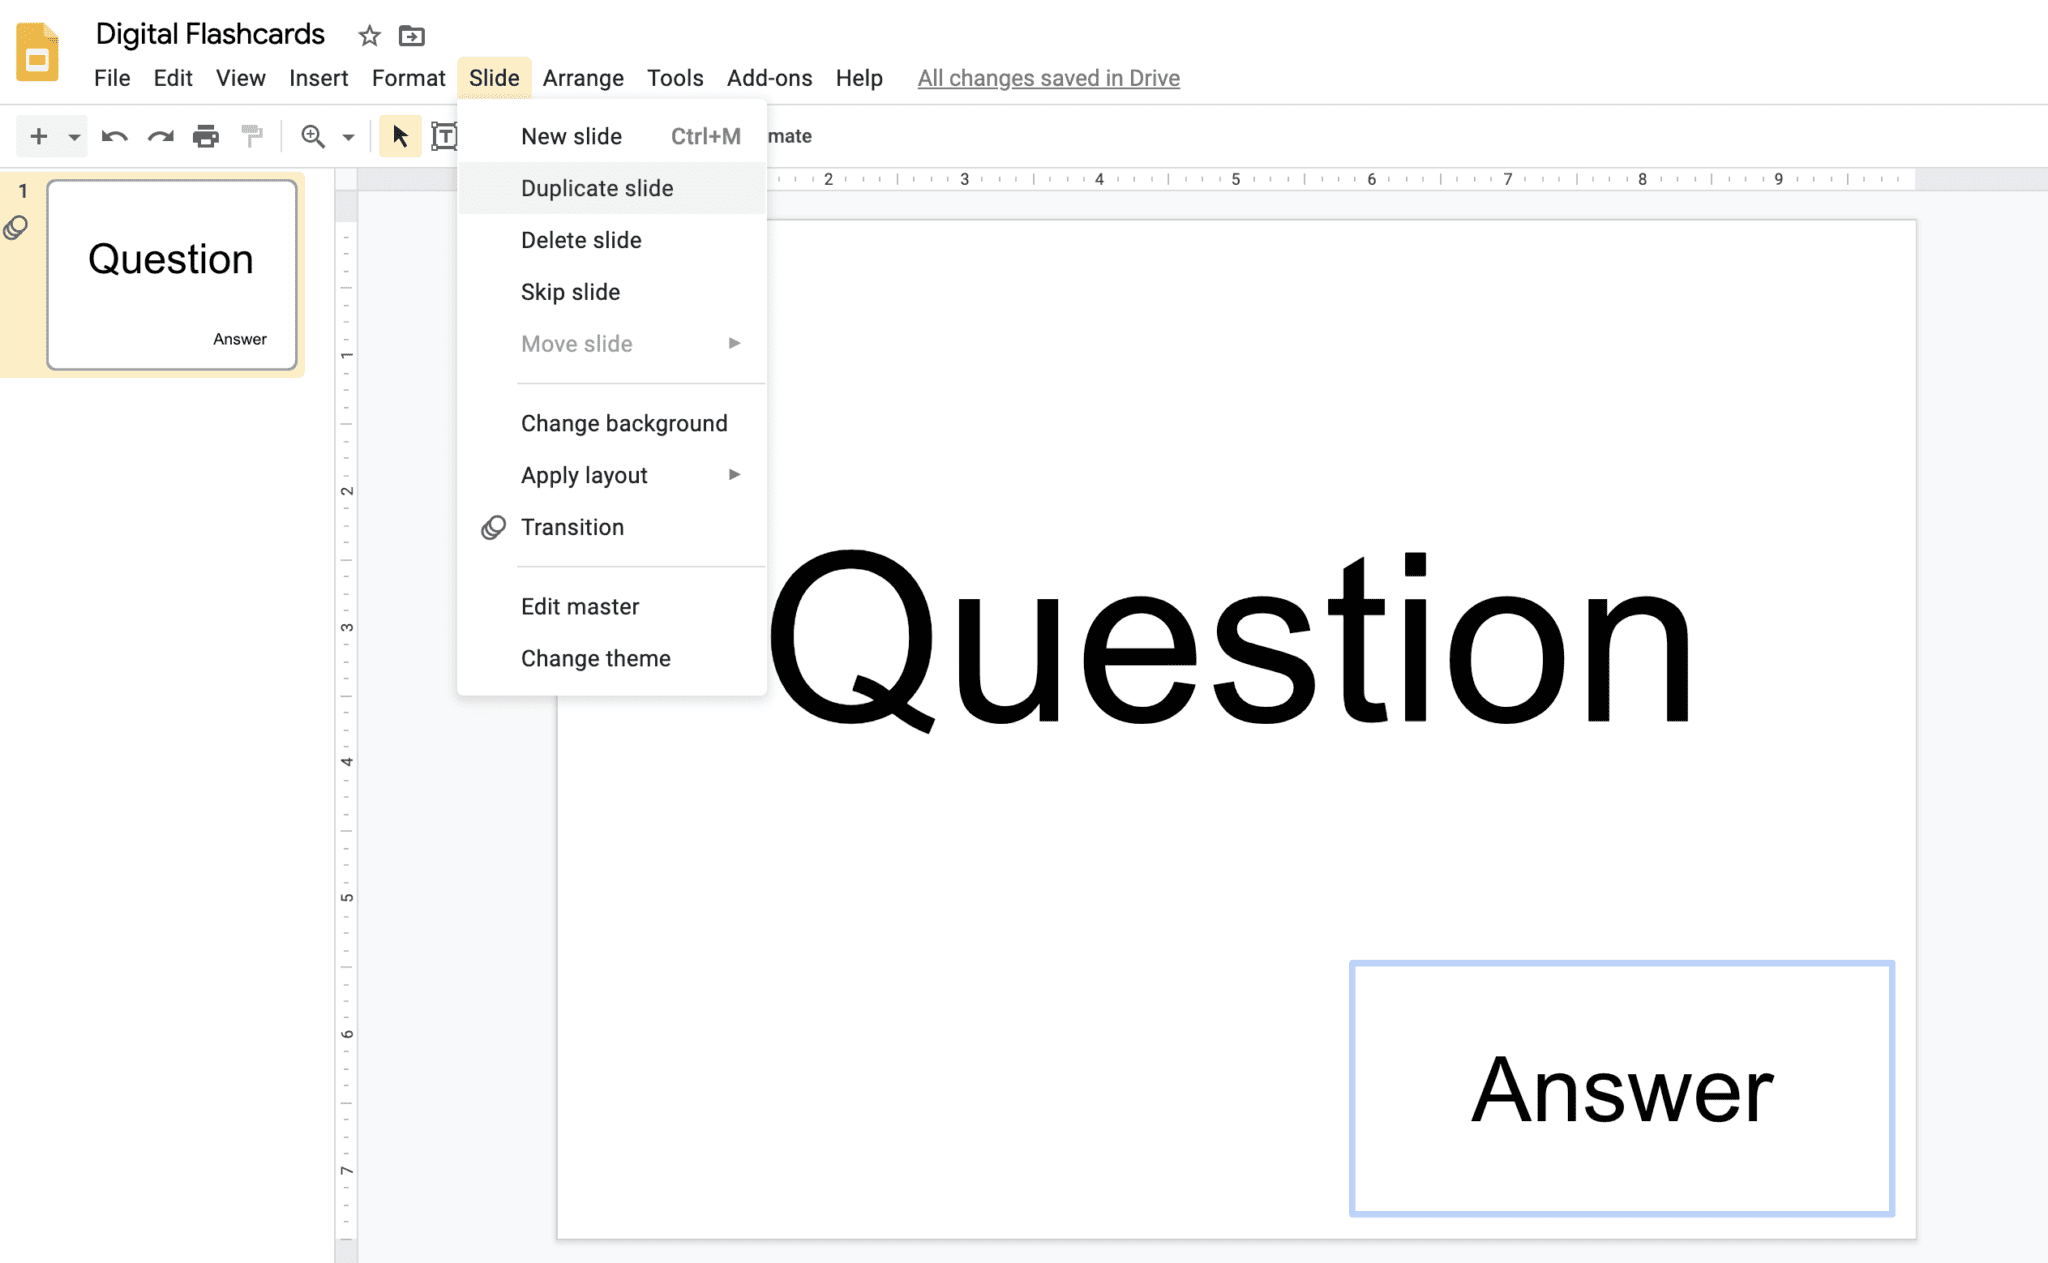
Add more flashcards to your current deck by selecting Slide > Duplicate slide. All of your presets will stay the time. Click on the text to change the question and answer, and your next slide is done!
Randomizing Your Flashcards
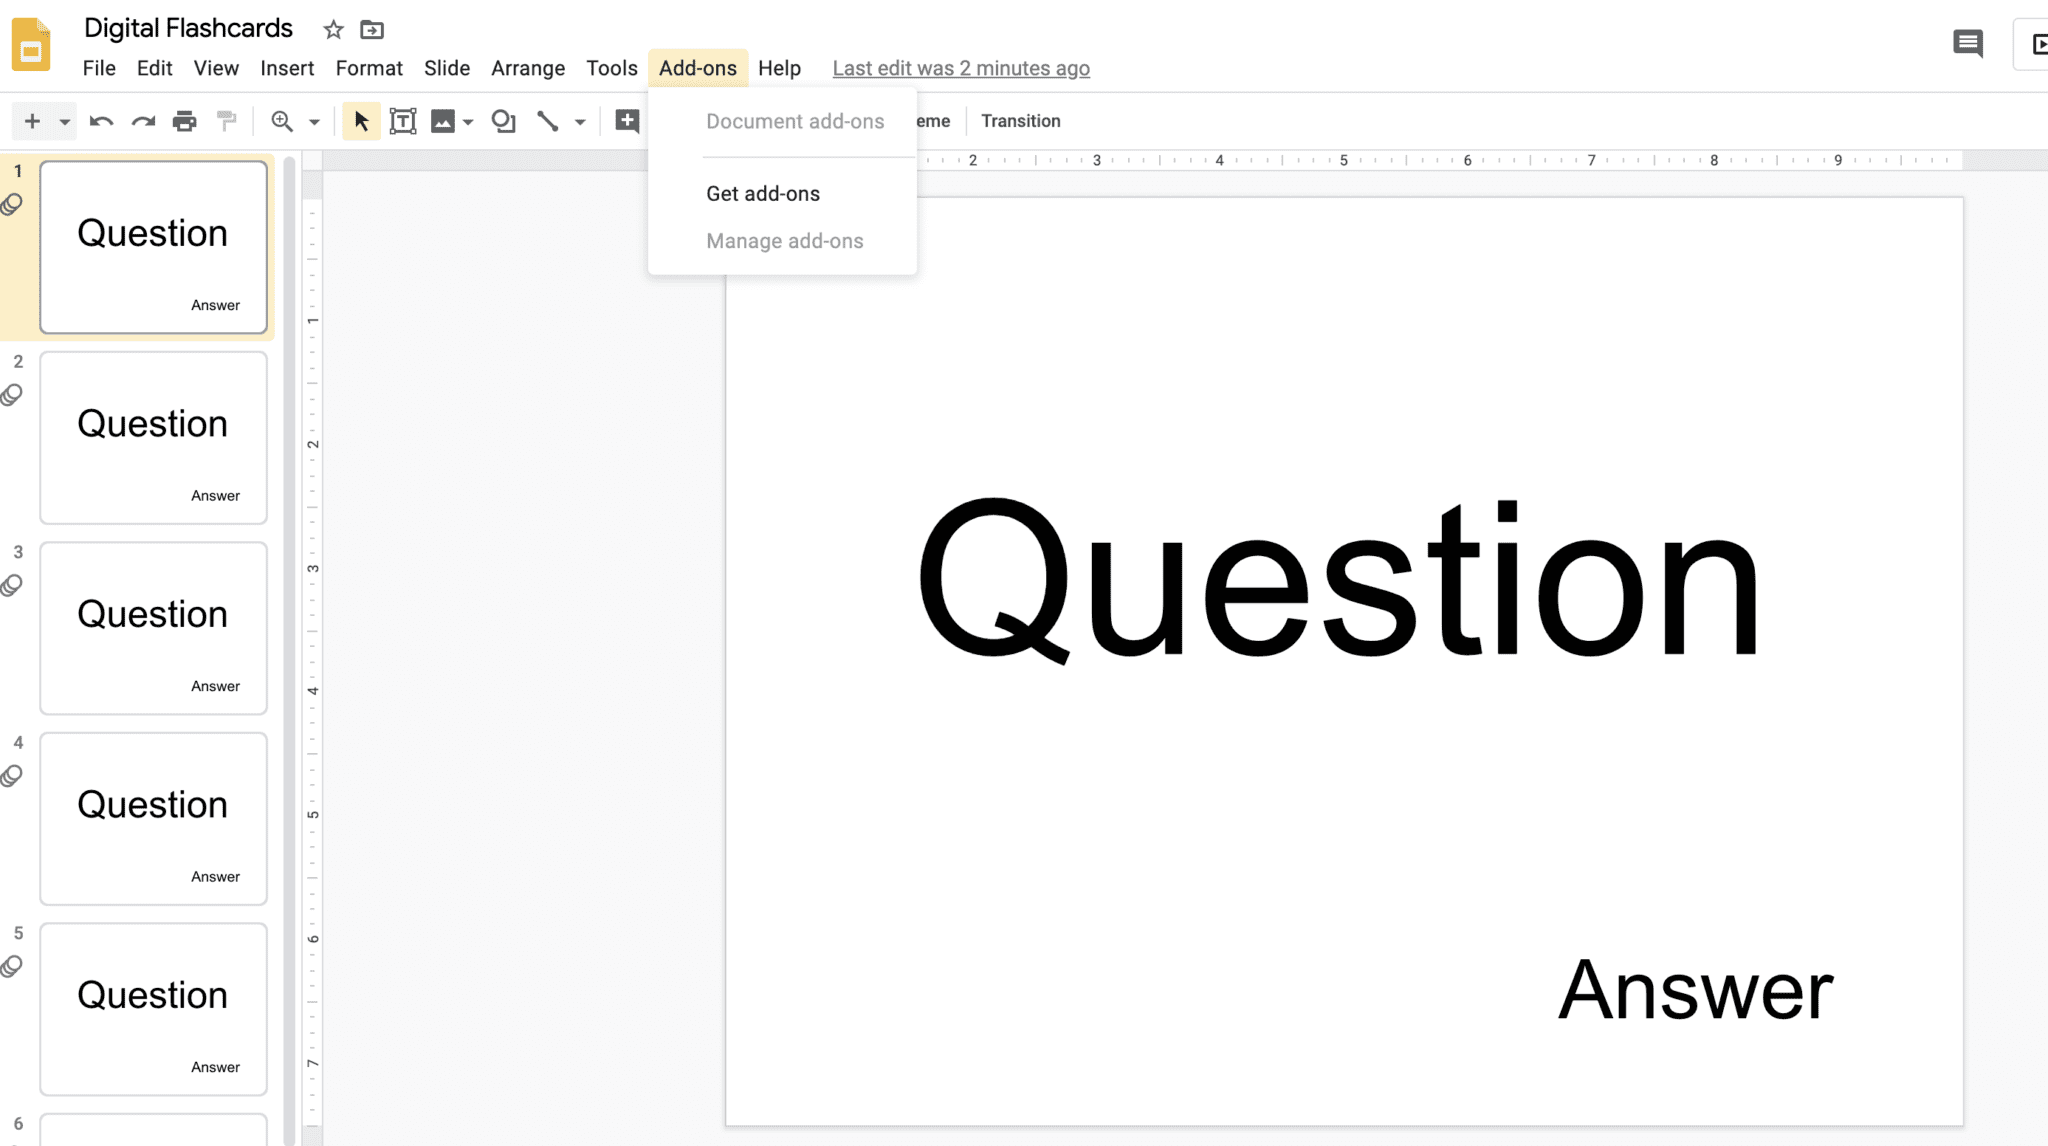
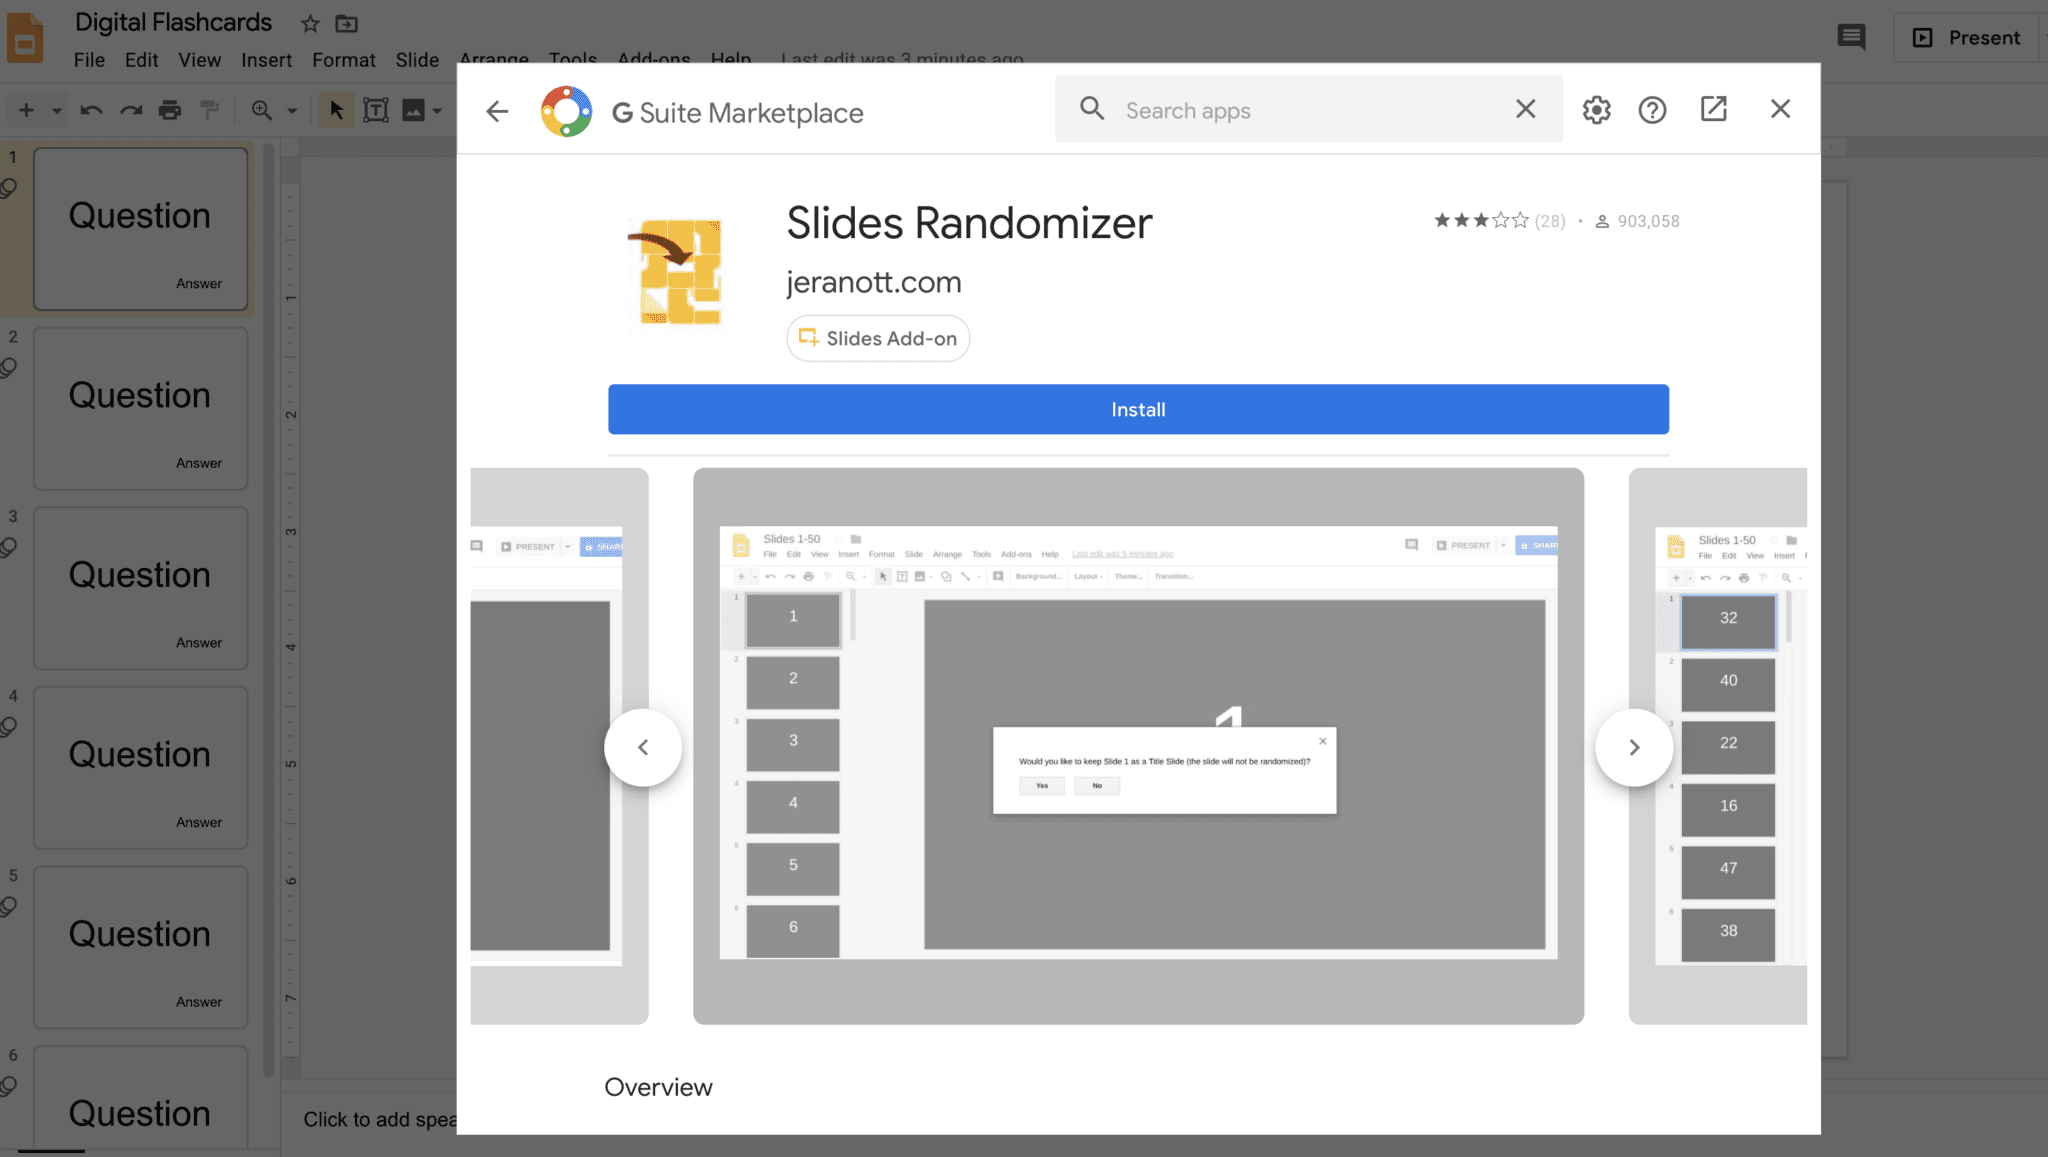
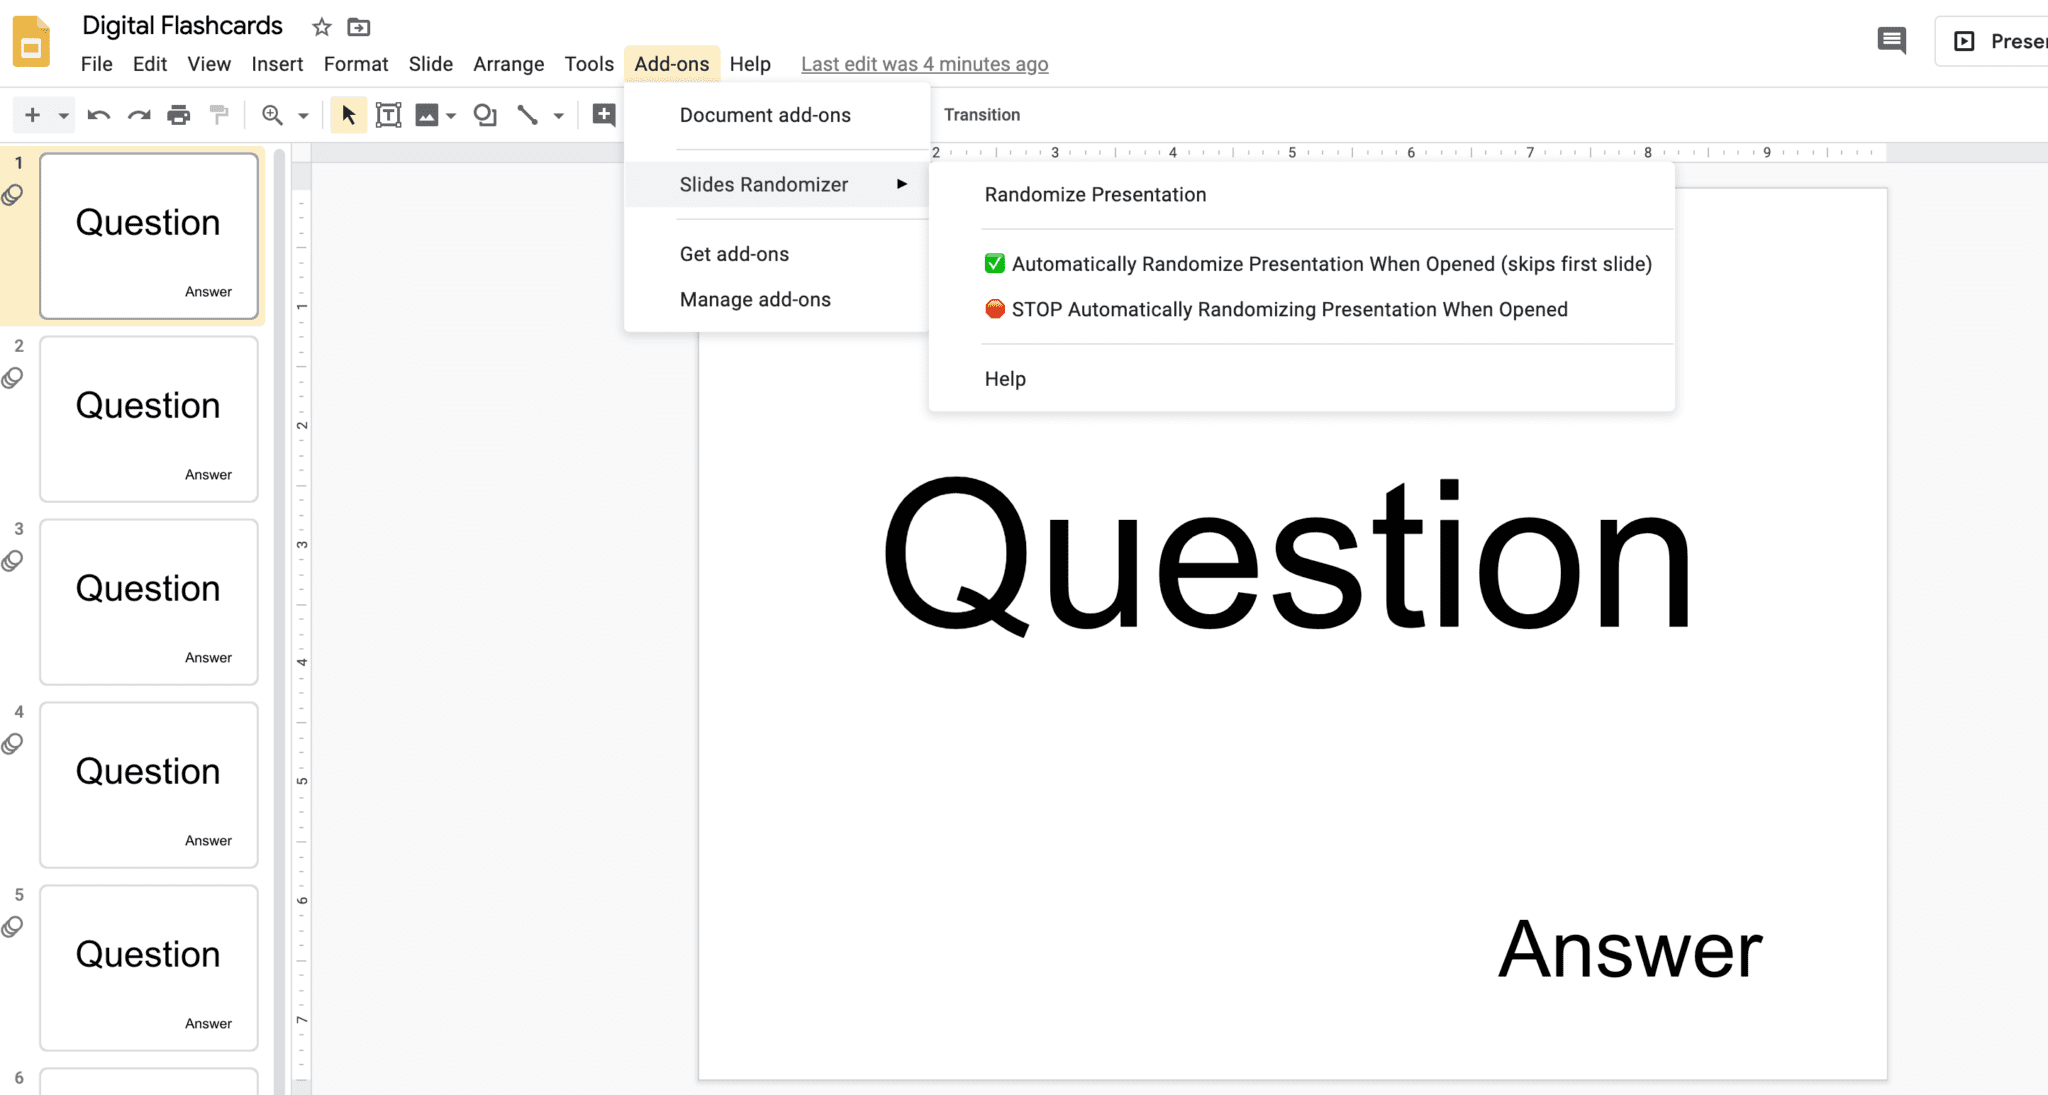
If you want to send your flashcards out to students in a different order each time, you can reorganize the cards manually by moving them around in the presentation margins. You can also add the Slides randomizer function to your Google Slides account. Click on Add-ons > Get add-ons > type in Slides Randomizer > click through the prompts to install the slides randomizer. Now you will be able to shuffle the flashcards before assigning them to students for practice.
Getting Fancy
Now that you understand the basics of creating digital flashcards, you can start playing around with customization. Inserting images, adding background colors, and/or adding shapes are great places to start. You can also send out preset flashcard decks for your students to create.
Skip the set-up process and create your own digital flashcards using the editable flashcard templates from Literacy in Focus on TpT. Everything is set up and ready to go, including the animated answer boxes!
Digital Flashcard Templates from Literacy in Focus on TpT

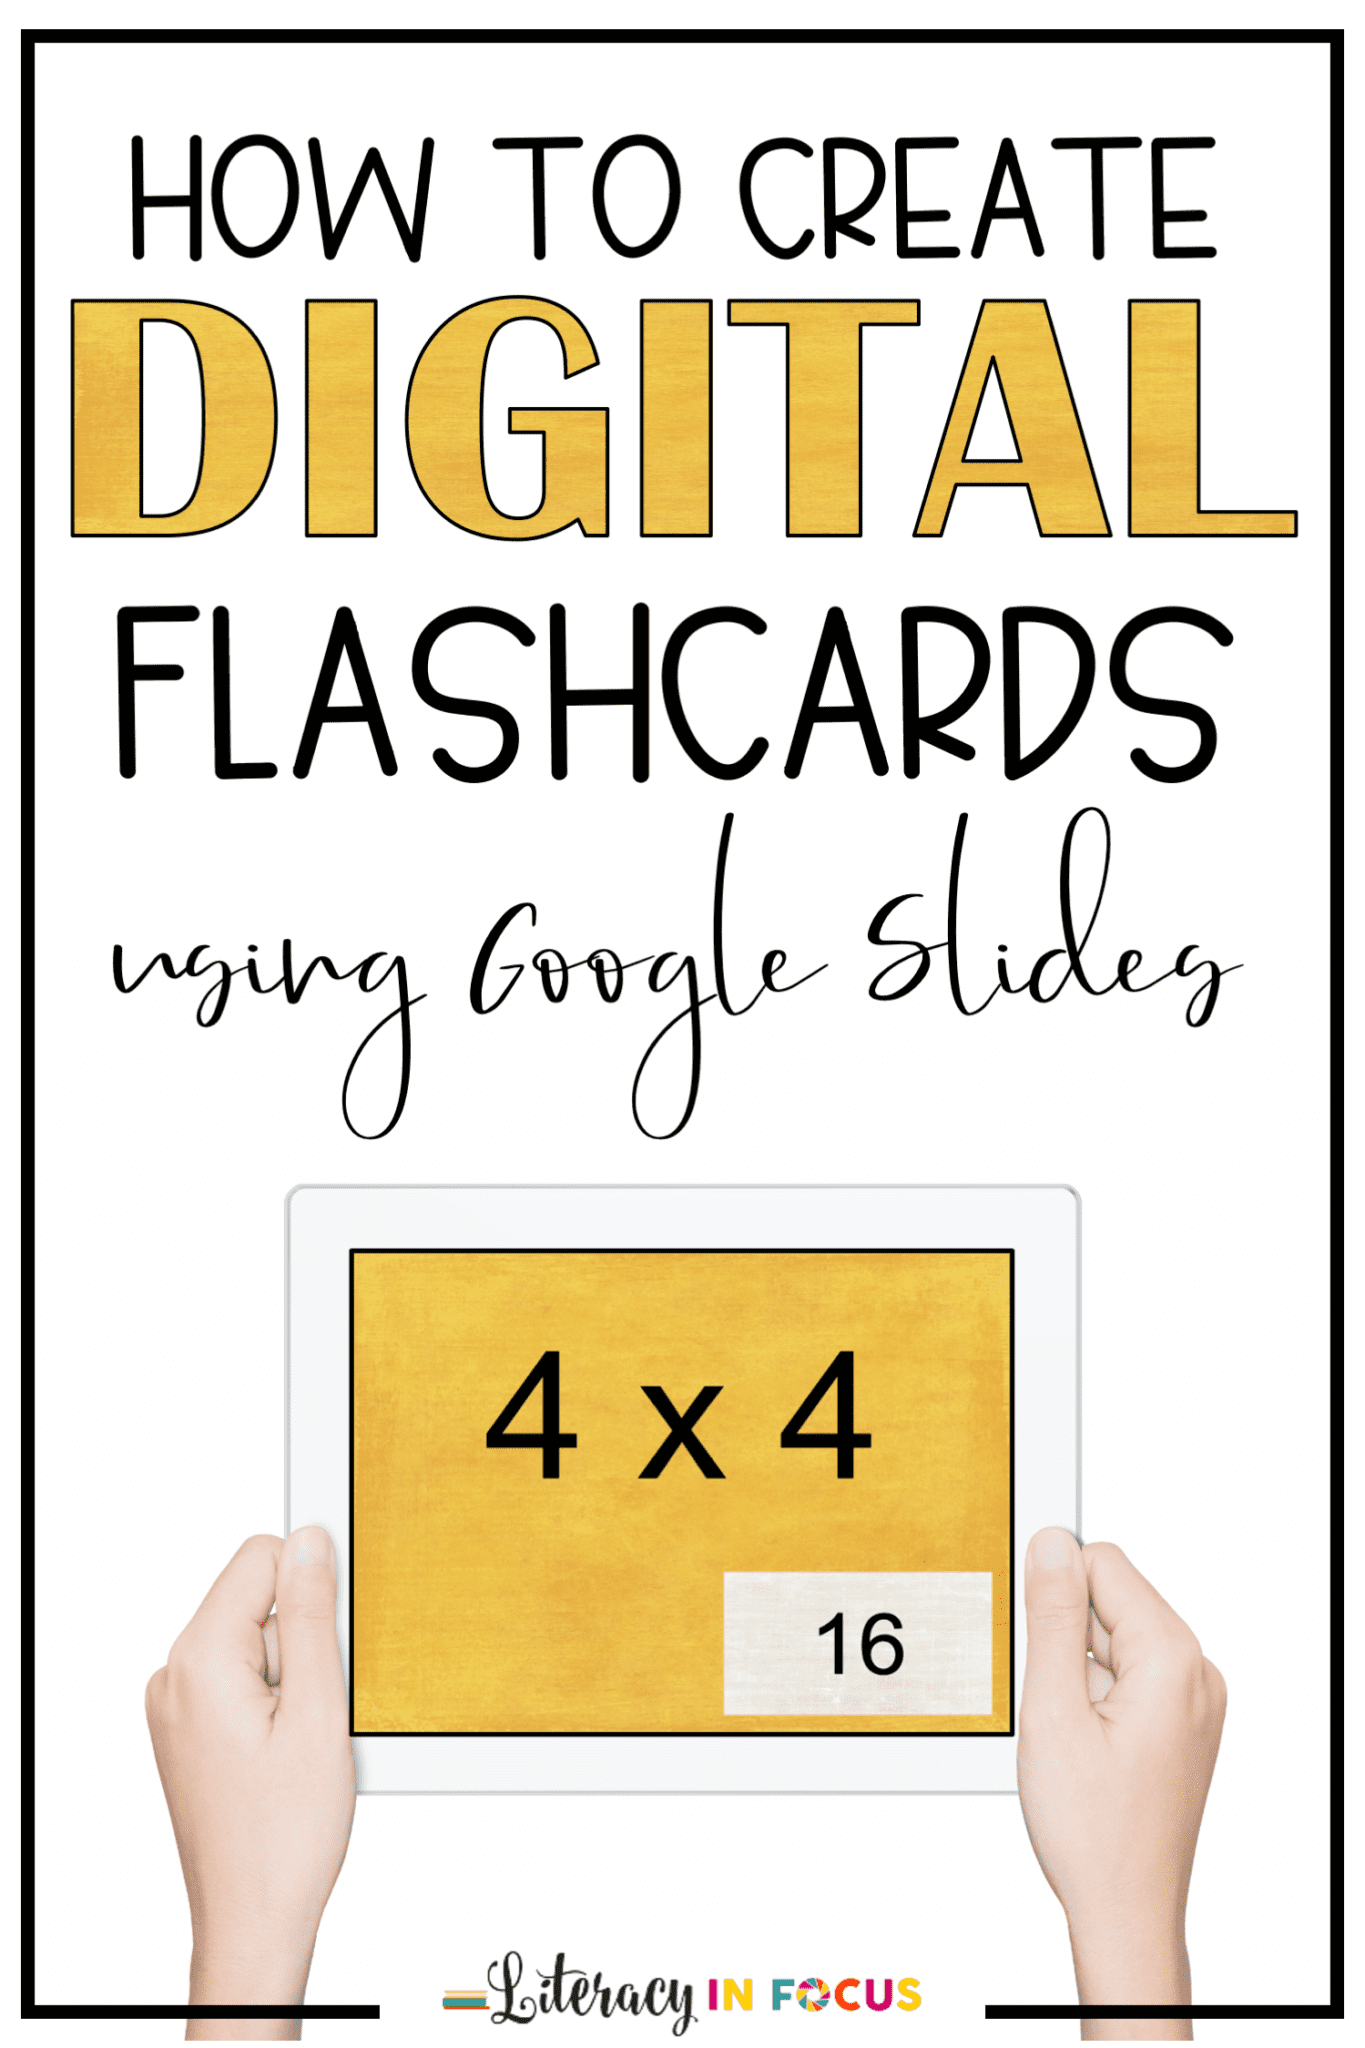


How To Create Flashcards On Google Slides
Source: https://www.litinfocus.com/how-to-create-digital-flashcards-with-google-slides/
Posted by: priceboying.blogspot.com

0 Response to "How To Create Flashcards On Google Slides"
Post a Comment